Install LAMP Stack On Ubuntu 15.04
Categories:
LAMP Stack Overview
LAMP stack is one of the most used application stack that power the web. It consist of Linux as operating systems, Apache as web server, MySQL as Database Server and PHP as the programming language that run the web application.
MySQL can be replaced with MariaDB or PerconaDB, PHP can be repalaced with Perl or Python. Apache itself can be replaced by lighttpd, nginx, or Openlitespeed. But for now we’ll focus on creating LAMP Stack on Ubuntu 15.04.
Updating Base System
Before we install any application we will update our systems first so that base packages will have latest update.
$ sudo apt-get update
$ sudo apt-get upgrade
Installing Apache 2
Now the base system is up to date. First step is to install Apache 2 on Ubuntu 15.04. To install Apache 2 you can run command below :
$ sudo apt-get install apache2
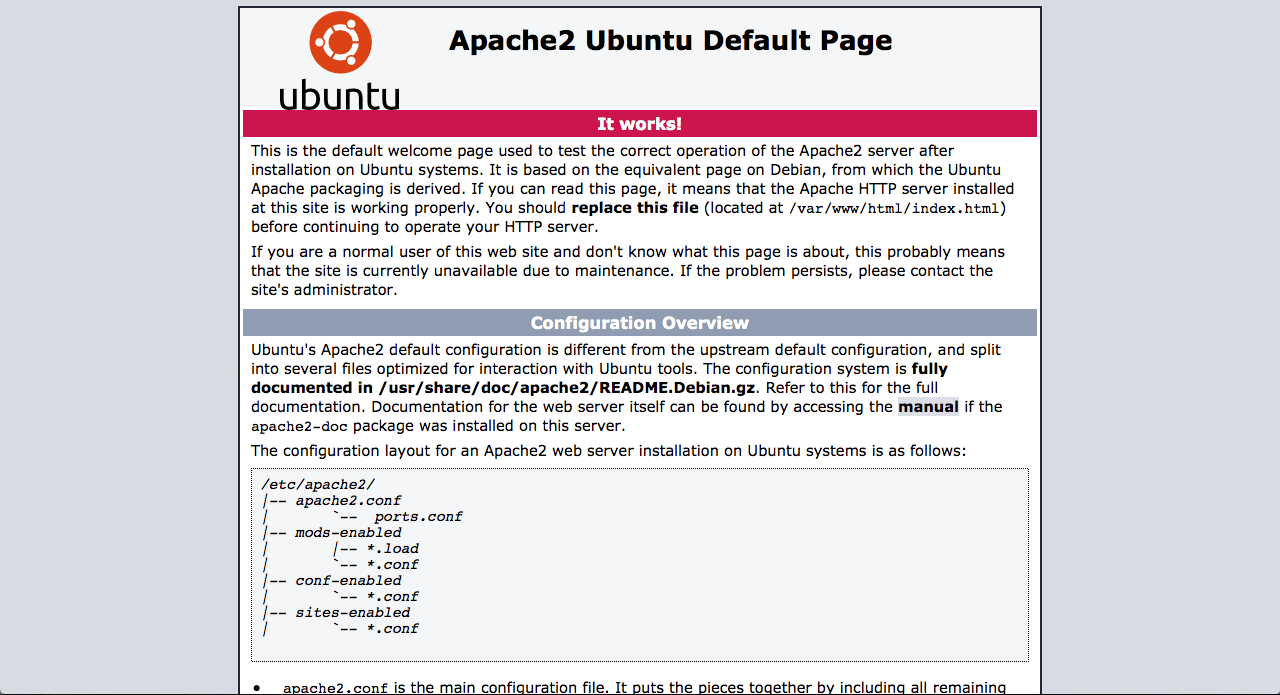
After installing Apache 2 you can open your new webserver by opening http://ipaddress/. You will see the default page below.
To check service status you can use command below :
$ sudo service apache2 status
The output is more or less like below :
● apache2.service - LSB: Apache2 web server
Loaded: loaded (/etc/init.d/apache2)
Active: active (running) since Wed 2015-12-09 18:12:23 EST; 17min ago
Docs: man:systemd-sysv-generator(8)
CGroup: /system.slice/apache2.service
├─15957 /usr/sbin/apache2 -k start
├─15960 /usr/sbin/apache2 -k start
└─15961 /usr/sbin/apache2 -k start

Dec 09 18:12:22 lamp-stack systemd[1]: Starting LSB: Apache2 web server...
Dec 09 18:12:22 lamp-stack apache2[15936]: * Starting web server apache2
Dec 09 18:12:22 lamp-stack apache2[15936]: AH00558: apache2: Could not reliably determine the server's fully qualified domain name, using 127.0.1....s message
Dec 09 18:12:23 lamp-stack apache2[15936]: *
Dec 09 18:12:23 lamp-stack systemd[1]: Started LSB: Apache2 web server.
Hint: Some lines were ellipsized, use -l to show in full.
You can see another options for apache service below :
$ sudo service apache2
Usage: apache2 {start|stop|graceful-stop|restart|reload|force-reload|start-htcacheclean|stop-htcacheclean}
To check whether Apache already listen to http port or not you can use command below
$ sudo netstat -naptu | grep LISTEN
The output for command above is similar to output below. You can see on the second line an application already listen to port 80 and the application is apache2 (last column).
tcp        0      0 0.0.0.0:22              0.0.0.0:*               LISTEN      660/sshd
tcp6       0      0 :::80                   :::*                    LISTEN      15957/apache2
tcp6       0      0 :::22                   :::*                    LISTEN      660/sshd
Configuring Apache
The main folder for Apache configuration is /etc/apache2/. the main configuration is /etc/apache2/apache2.conf. The configuration on Ubuntu is modular. Main apache2.conf file spllited into multiple files and added to main apache2.conf using Include or IncludeOptional directive.
This main Apache 2 configuration will includes :
ports.conf. This file list ports to listen by Apache2.mods-enabled/*.load. *.load file contain Apache 2 module loading directive.mods-enabled/*.conf. *.conf file contain Apache 2 module configuration.conf-enabled/*.conf. These files contain generic statement that can be included in main apache2 configuration.sites-enabled/*.conf. These files contain virtual hosts configuration on Apache 2.
Changing The Default Index File
The default main directory that Apache 2 use is /var/www/html. In this folder you can see it contain index.html file.
$ ls /var/www/html/
index.html
Now let’s move the default index.html file to index.html.bak and create new index html file.
$ sudo mv /var/www/html/index.html /var/www/html/index.html.bak
Create new index.html file on /var/www/html with content below :
<title>LAMP Stack on Ubuntu 15.04</title>

LAMP Stack on Ubuntu 15.04
When you open your server with http://ipaddress/ again you will see page below :

Installing PHP 5
Apache can only serve static contents like html, images, video, css and javascript. To serve dynamic contents we need to install php5. You can follow command below:
$ sudo apt-get install php5 libapache2-mod-php5
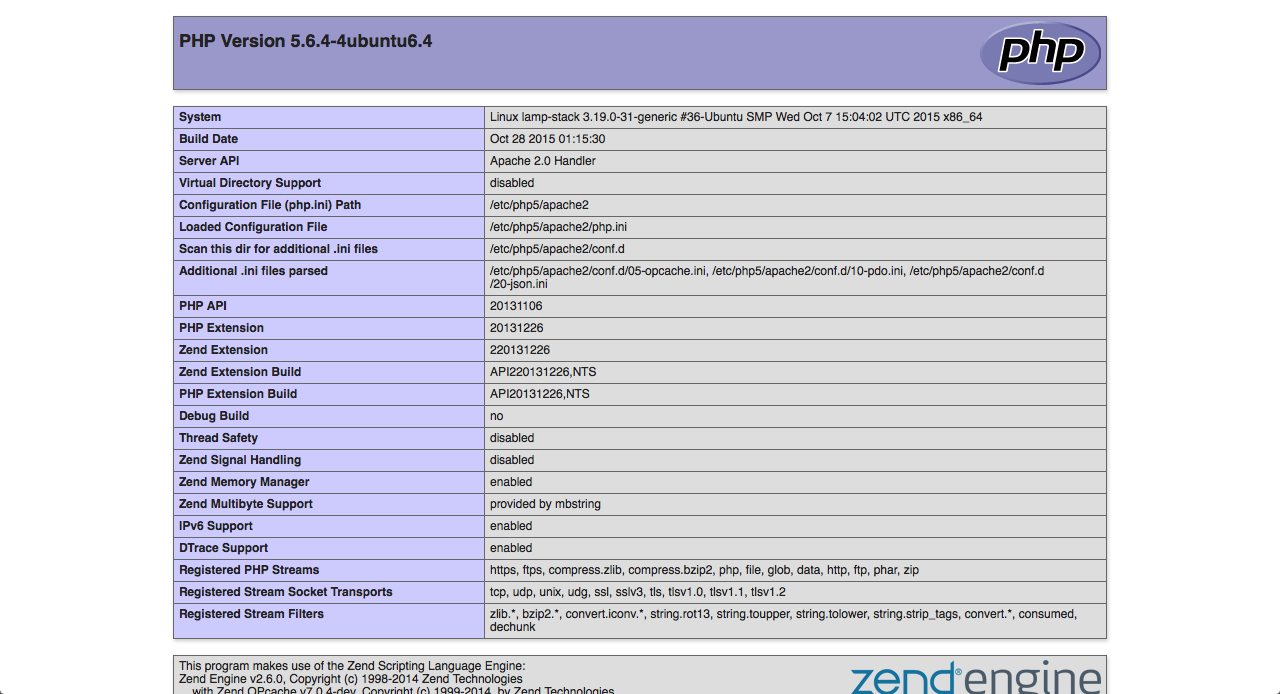
Let’s create new php file /var/www/html/phpinfo.php with content below :
< ?php phpinfo(); ?>
Let’s check the new php support by opening http://ipaddress/phpinfo.php. You should see output similar to image below :
Configuring PHP 5
The main php configuration when used with Apache 2 is /etc/php5/apache2/php.ini. We will leave the php configuration default for now.
If you change any value on this file you will need to restart Apache 2 webserver by running command below :
$ sudo service apache2 restart
PHP Modules
PHP 5 comes with a lot of modules. You can search available modules for PHP 5 by running command below :
$ sudo apt-cache search php5-
it will list ubuntu package with filename that contain php5-.
In this tutorial we’ll install PHP 5 MySQL module. Let’s search list of package with php5-mysql name
$ sudo apt-cache search php5-mysql
php5-mysql - MySQL module for php5
php5-mysqlnd - MySQL module for php5 (Native Driver)
php5-mysqlnd-ms - MySQL replication and load balancing module for PHP
We will install the first one. php5-mysql.
$ sudo apt-get install php5-mysql
Now your PHP installation have MySQL support.
Installing MySQL 5.6
Now let’s move to the M of the LAMP stack by installing MySQL 5.6. MySQL 5.6 is the default MySQL version on Ubuntu 15.04 so you don’t need to specify the version.
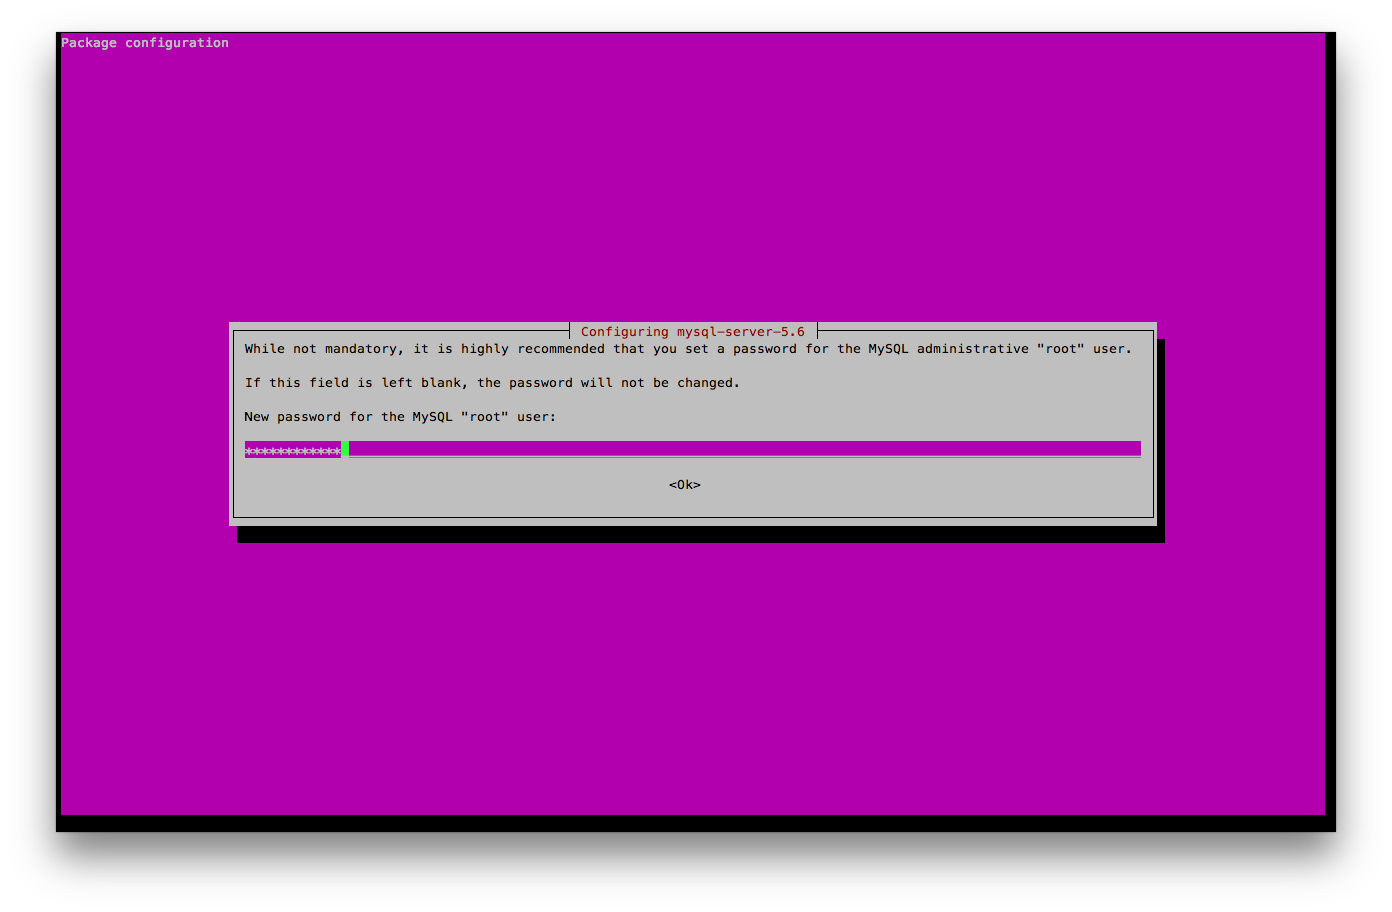
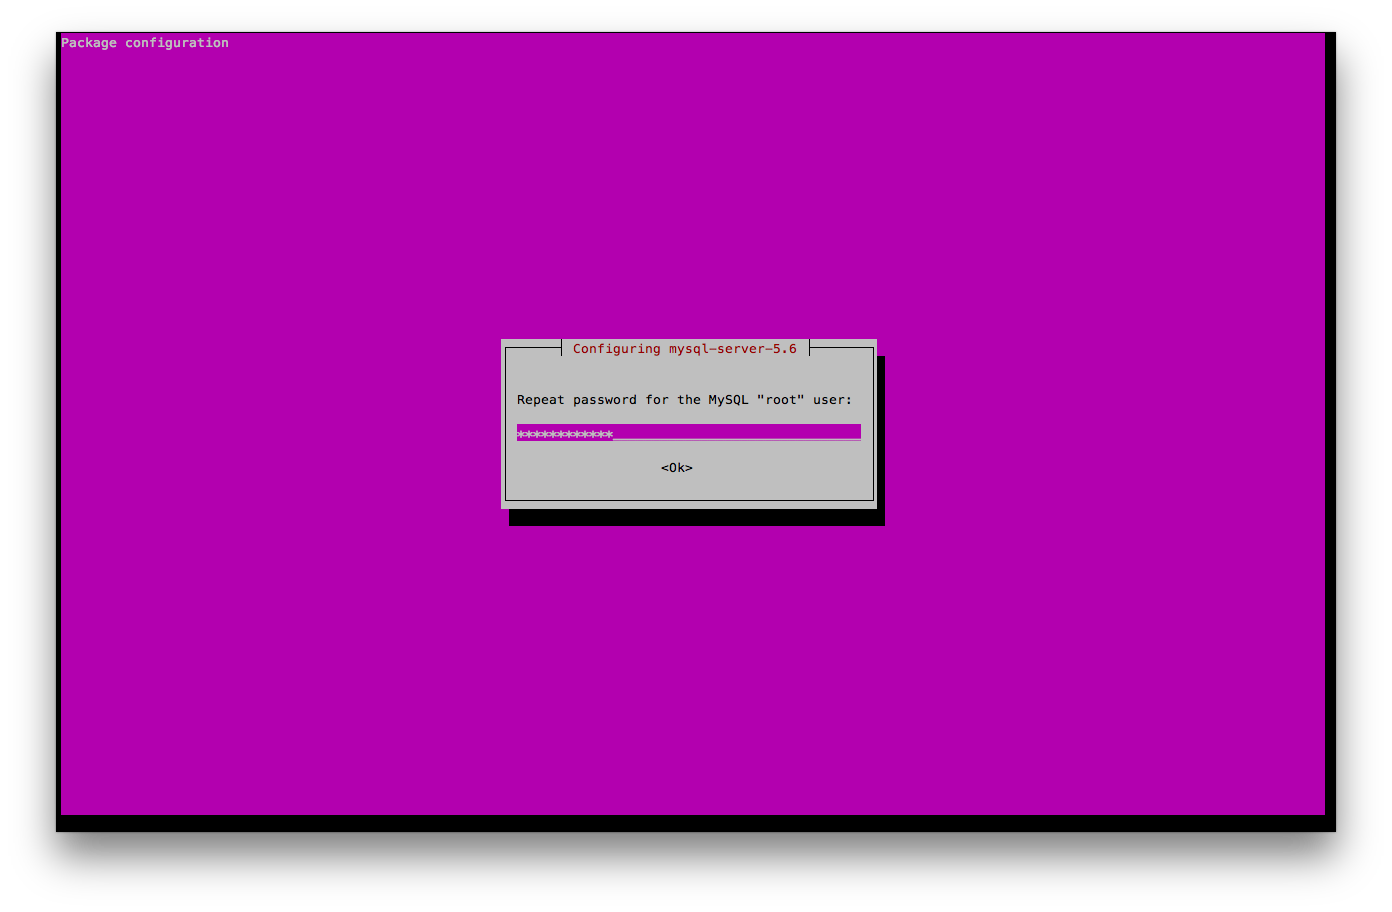
$ sudo apt-get -y install mysql-server
Input MySQL root password.
Confirm MySQL root password.
Let’s check the service status of the new MySQL Server using command below :
$ sudo service mysql status
The output should be similar to output below :
● mysql.service - MySQL Community Server
Loaded: loaded (/lib/systemd/system/mysql.service; enabled; vendor preset: enabled)
Active: active (running) since Wed 2015-12-09 21:56:37 EST; 7s ago
Main PID: 20377 (mysqld_safe)
CGroup: /system.slice/mysql.service
├─20377 /bin/sh /usr/bin/mysqld_safe
└─20723 /usr/sbin/mysqld --basedir=/usr --datadir=/var/lib/mysql --plugin-dir=/usr/lib/mysql/plugin --log-error=/var/log/mysql/error.log --pid-f...

Dec 09 21:56:36 lamp-stack systemd[1]: Starting MySQL Community Server...
Dec 09 21:56:36 lamp-stack mysqld_safe[20377]: 151209 21:56:36 mysqld_safe Can't log to error log and syslog at the same time.  Remove all --log-e...e effect.
Dec 09 21:56:36 lamp-stack mysqld_safe[20377]: 151209 21:56:36 mysqld_safe Logging to '/var/log/mysql/error.log'.
Dec 09 21:56:36 lamp-stack mysqld_safe[20377]: 151209 21:56:36 mysqld_safe Starting mysqld daemon with databases from /var/lib/mysql
Dec 09 21:56:37 lamp-stack systemd[1]: Started MySQL Community Server.
Hint: Some lines were ellipsized, use -l to show in full.
Now let’s login to MySQL server root user, this time when MySQL prompt for password I just press enter / not inputting password :
$ mysql -u root -p
Enter password:
ERROR 1045 (28000): Access denied for user 'root'@'localhost' (using password: NO)
It gives me error Access denied. Let’s try login again using password that we set on installation.
$ mysql -u root -p
Enter password:
Welcome to the MySQL monitor.  Commands end with ; or \g.
Your MySQL connection id is 3
Server version: 5.6.27-0ubuntu0.15.04.1 (Ubuntu)

Copyright (c) 2000, 2015, Oracle and/or its affiliates. All rights reserved.

Oracle is a registered trademark of Oracle Corporation and/or its
affiliates. Other names may be trademarks of their respective
owners.

Type 'help;' or '\h' for help. Type '\c' to clear the current input statement.

mysql> quit
We can login to the new MySQL server using the credential that we set on installation. type quit to exit from MySQL prompt
Securing MySQL 5.6
Even though we already set password for root user, MySQL installation by default is not secure. we can run mysql_secure_installation command to secure our MySQL installation.
$ mysql_secure_installation
First thing to set is root password. since we already set root password on installation we skip this process, type n.
NOTE: RUNNING ALL PARTS OF THIS SCRIPT IS RECOMMENDED FOR ALL MySQL
SERVERS IN PRODUCTION USE!  PLEASE READ EACH STEP CAREFULLY!

In order to log into MySQL to secure it, we'll need the current
password for the root user.  If you've just installed MySQL, and
you haven't set the root password yet, the password will be blank,
so you should just press enter here.

Enter current password for root (enter for none):
OK, successfully used password, moving on...

Setting the root password ensures that nobody can log into the MySQL
root user without the proper authorisation.

You already have a root password set, so you can safely answer 'n'.

Change the root password? [Y/n] n
... skipping.
This step will remove anonymous user which by default available on MySQL.
By default, a MySQL installation has an anonymous user, allowing anyone
to log into MySQL without having to have a user account created for
them.  This is intended only for testing, and to make the installation
go a bit smoother.  You should remove them before moving into a
production environment.

Remove anonymous users? [Y/n] Y
... Success!
Now to make the MySQL installation more secure we’ll restrict root access only from the server itself (localhost). Choose Y in this step.
Normally, root should only be allowed to connect from 'localhost'.  This
ensures that someone cannot guess at the root password from the network.

Disallow root login remotely? [Y/n] Y
... Success!
MySQL usually comes with database named test We need to remove this test database. Choose Y on this step. You will see below that there is error on the process, this is OK because it’s only because Ubuntu 15.04 MySQL installation does not create test database by default.
By default, MySQL comes with a database named 'test' that anyone can
access.  This is also intended only for testing, and should be removed
before moving into a production environment.

Remove test database and access to it? [Y/n] Y
- Dropping test database...
ERROR 1008 (HY000) at line 1: Can't drop database 'test'; database doesn't exist
... Failed!  Not critical, keep moving...
- Removing privileges on test database...
... Success!
Reload the privilege table so that the changes we make earlier take effect. Enter Y.
Reloading the privilege tables will ensure that all changes made so far
will take effect immediately.

Reload privilege tables now? [Y/n] Y
... Success!
We just secured our MySQL installation. Now MySQL is ready to be used.
All done!  If you've completed all of the above steps, your MySQL
installation should now be secure.

Thanks for using MySQL!

Cleaning up...
Configuring MySQL 5.6
The main configuration file for MySQL is on /etc/mysql/my.cnf. It include contents of /etc/mysql/conf.d and /etc/mysql/mysql.conf.d.
The /etc/mysql/conf.d contain configuration for MySQL client while /etc/mysql/mysql.conf.d contain configuration for server.
In this tutorial, as example we will change MySQL to listen not only on localhost on all interface. Please remember that opening MySQL access from outside is creating another source of attack for your database. If not needed make sure you leave MySQL to listen on localhost.
Let’s check where MySQL process listen :
$ sudo netstat -naptu | grep LISTEN | grep mysql
tcp        0      0 127.0.0.1:3306          0.0.0.0:*               LISTEN      20723/mysqld
It only listen on 127.0.0.1 or localhost.
Open /etc/mysql/mysql.conf.d/mysqld.cnf. Find line :
bind-address = 127.0.0.1
replace it with :
bind-address = 0.0.0.0
This will make MySQL listen to all interfaces. Now restart MySQL configuration so that the new configuration will take effect.
$ sudo service mysql restart
Now, if we check MySQL process it listen to all interfaces :
$ sudo netstat -naptu | grep LISTEN | grep mysql
tcp        0      0 0.0.0.0:3306            0.0.0.0:*               LISTEN      22220/mysqld
TLDR; Version
Yes, what you already read above is the long, step-by-step version of creating LAMP stack on Ubuntu 15.04. If you want the short version. You can install lamp-server group using command below.
$ sudo apt-get install lamp-server^
Summary
In this tutorial we learned how-to install Apache2, MySQL 5.6 and PHP 5 on Ubuntu 15.04. We also learned a little bit to configure each application stack.
Now, you should be able to use your server to host your LAMP application. Have Fun!